


PlastiDipping Water Hoses
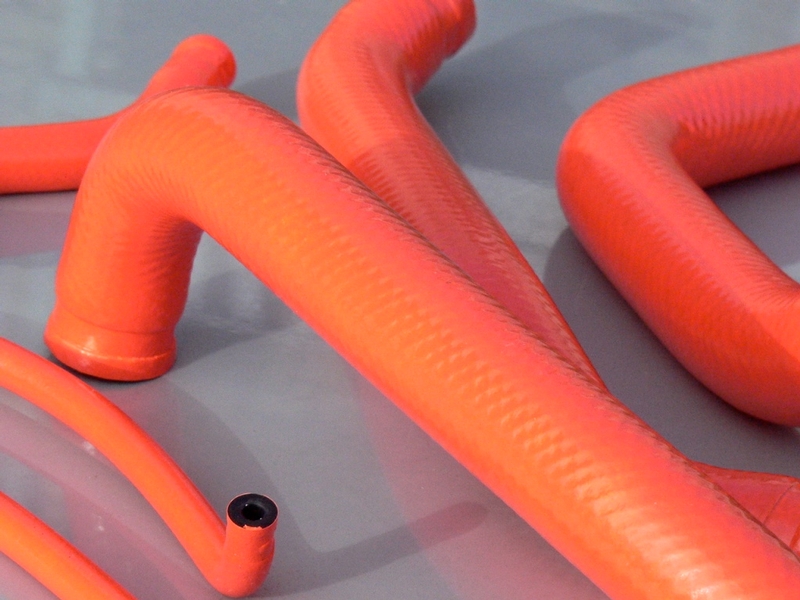
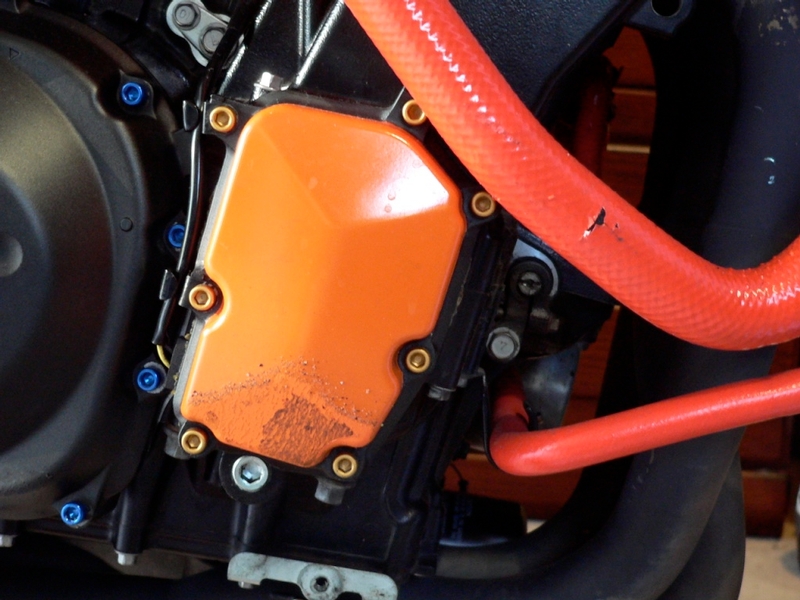
This is a cheap alternative to replacing your serviceable OEM water hoses with colored silicone hoses. I cannot say how well Plastidip will endure the temperature of the water hoses but I’ve read that some people have dipped their car exhausts without having it suffer any deterioration. It does apparently become very difficult to remove when exposed to high temperature. After running the engine until the fan comes on, I see that the Plastidip bubbles up at the crook in the large V shaped hose on the right hand side. I believe that is caused by heat expansion and compression of the Plastidip film at the point of the V. The bubbles shrink back down when the hose cools. I expect Plastidip will hold up well over the other surface of the hoses. I’ll have to report back on that after running for a season.
If you are happy with one of the aerosol can colors made by PlastiDip, you can do a flawless job. I mixed two colors by spraying one over the other while still wet. I’m not bad with a rattle can but the smaller hoses (some having several bends across their length) were a bit of a challenge. A few spatters, runs and slight variations in tone were inevitable. The color imperfections seem to fade a bit after the PlastiDip dries and a coat of PlastiDip Glossifyer makes them even less noticeable. I’d suggest practicing on small tubular objects to get the hang of applying and mixing the colors if you mix two colors while spraying. Practice with your Plastidip application to perfect your technique.
Apply PlastiDIp so that it is wet. This will achieve a smooth level surface. Less than wet application can look bumpy and granular. The spray nozzle deposits a vertical spray. It works well side to side but up and down it will deposit a narrow heavy stroke. Also, a fresh can of PlastiDip will deposit a diluted spray for the first couple seconds of use. There is probably some kind of anti-drying agent in the nozzle to extend shelf life before use.
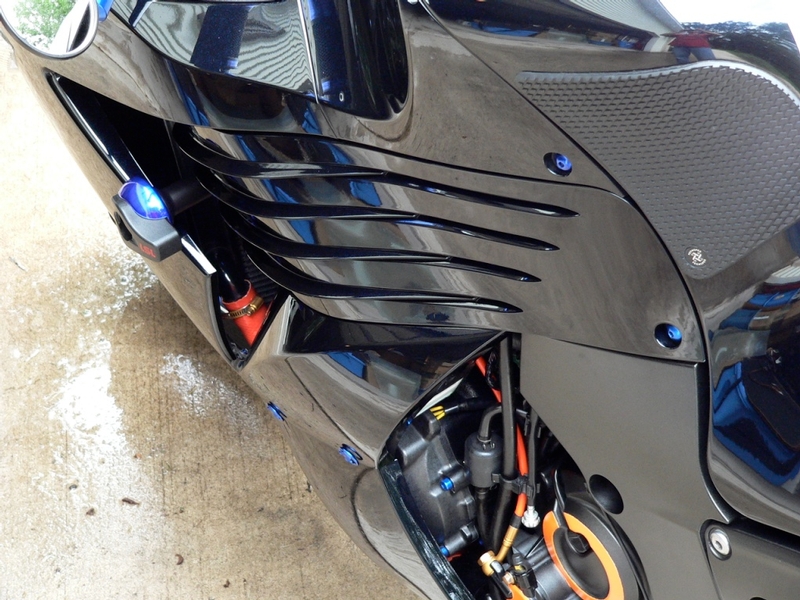
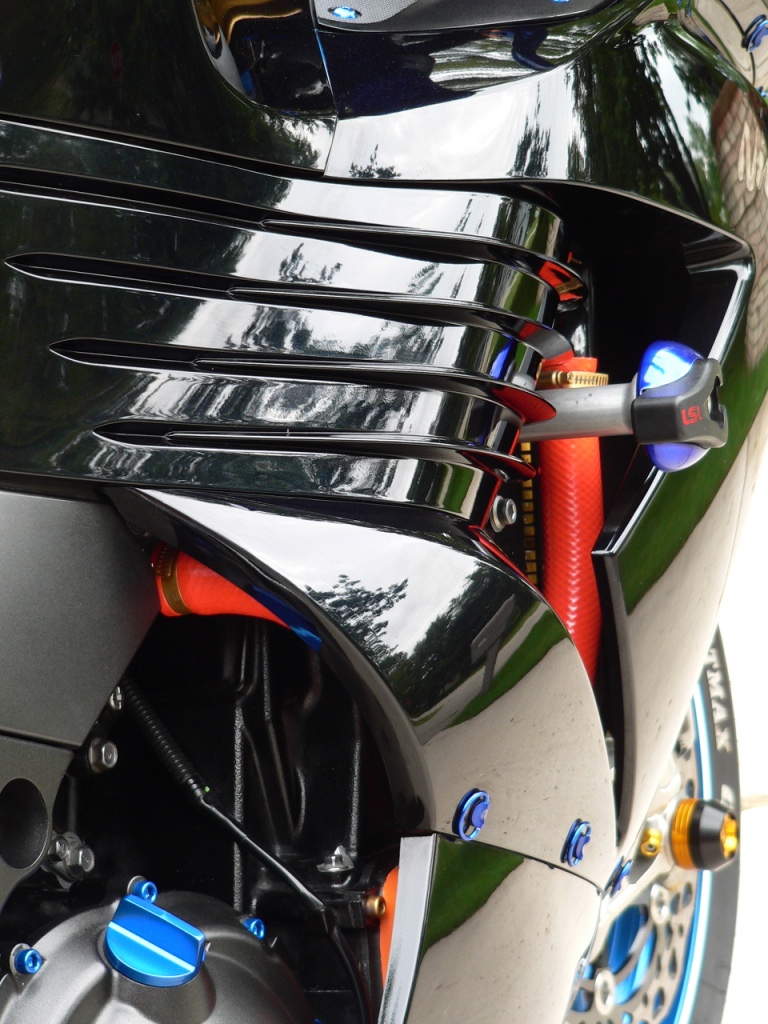
There is no performance benefit to PlastiDipping water hoses. It’s a cosmetic mod. Some of the water hoses may be visible through the vent holes in the side fairings but for the most part, they are only seen with the fairings off.
Tools:
water and soap
distilled water
plastic squeeze bottle fitted with a pointed tip or a vacuum pump--or just use your mouth
bamboo grilling scewers
tape
Sharpie markers
assorted bottle caps
white PlastiDip
color of your choice
PlastDip glossifer
Do First:
Remove water hoses (see Water Hose Removal)
1. Soak the water hoses over night in water. Wash the outside of the water hoses with water and soap and rinse them well. Dry them off and rinse the hoses with distilled water to clear out all traces of the tap water that was used to wash them. I filled the larger hoses with distilled water, covered the ends with my hands and shook them. I repeated this a few times. The small hoses could have distilled water flushed through them with a plastic squeeze bottle fitted with a pointed tip or a vacuum pump. I sucked distilled water into them like a straw using my mouth. Hang or stand the hoses up to drain them and let the hoses dry out thoroughly for a day. PlastiDip is attracted to water so if any water is left in the hose, it may have more of a tendency to seep into the hose when it is dipped.
2. Plug the ends of the hoses to keep any PlastiDip from contaminating the inside.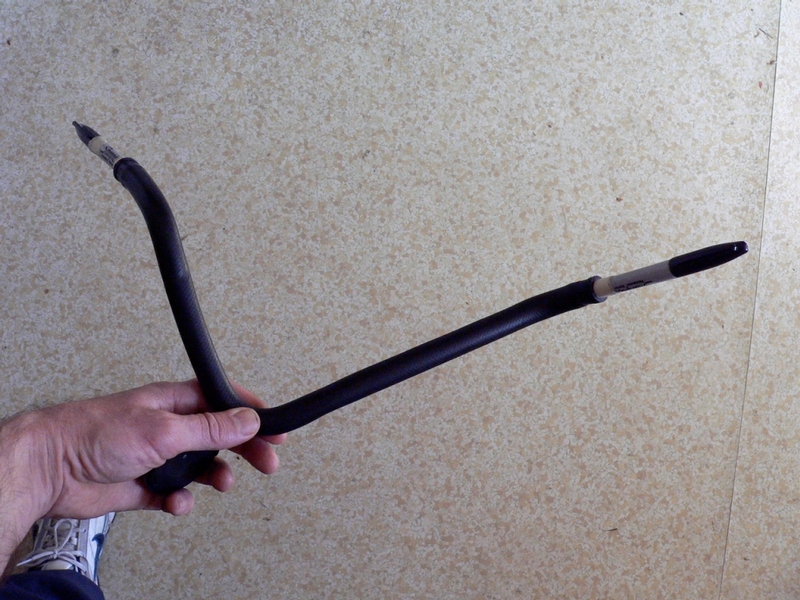
I used bamboo grilling scewers wrapped with a little tape to plug the small hoses, Sharpie markers with tape for the medium hoses and assorted bottle caps for the large hoses.
3. I almost always suggest applying a white base coat to give the color its maximum punch. Mist on a light tack coat first. The tack coat will help prevent running on the raw rubber of the hoses.
4. PlastiDip needs to be applied with a little body to get a smooth finish. Apply 3 coats of white PlastiDip waiting one half hour between coats. To reduce the chance of any PlastiDip penetrating the plugged openings, I did not try to paint the ends of the hoses.
5. Apply one or more coats of the color of your choice.
6. A coat of PlastDip glossifer is a nice finishing touch and it will help protect the color layer from being scuffed off.
7. Allow the dipped hoses to dry thoroughly for a minimum of four hours. Twist the plug to break the PlastiDip at the ends of the hose. Remove the plug.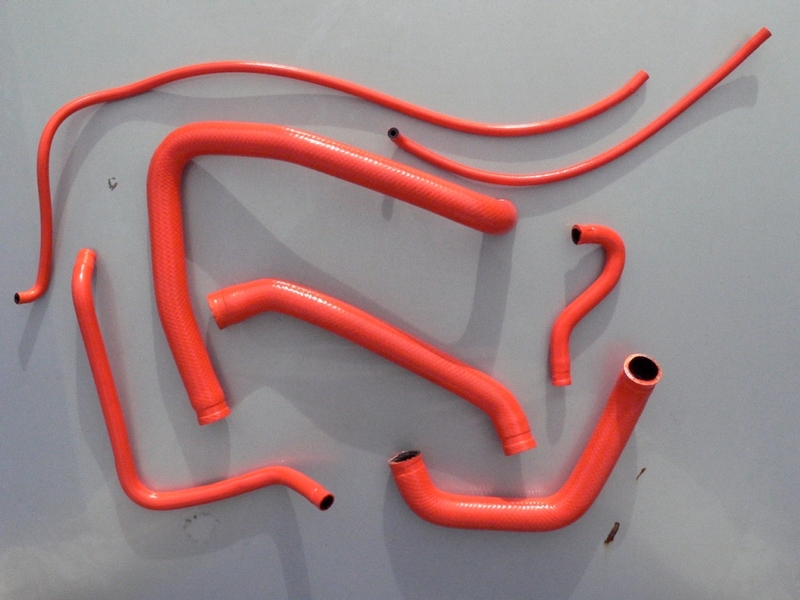
I sprayed a very light coat of white to promote adhesion and prevent running on the raw rubber surface. Then 3 wet coats of white PlastiDip to maximize the color punch of the top coats. I waited 30 minutes between coats of white. I sprayed one wet coat of Blaze Orange and immediately followed that with a wet coat of regular orange PlastiDip. It is not quite the same as mixing colors and applying with a paint sprayer but it works fine. I allowed the orange to dry for 30 minutes and sprayed one wet coat of glossifier. This adds a nice finishing touch and it disguises any imperfections in the layered mixing of the colors. Allow the Pipes to dry for at least 4 hours before installing. I suggests waiting at least a few days. I had the lower pipes on the LH side stick together. I don't know if it was from heat alone or just tackiness so I'm unsure if that problem can be avoided by allowing more thorough drying of the dip. When my lower LH hoses are removed, I will probably have to do them over or touch up. No problem as long as they stay installed.
Install dipped water hoses (see Water Hose Removal)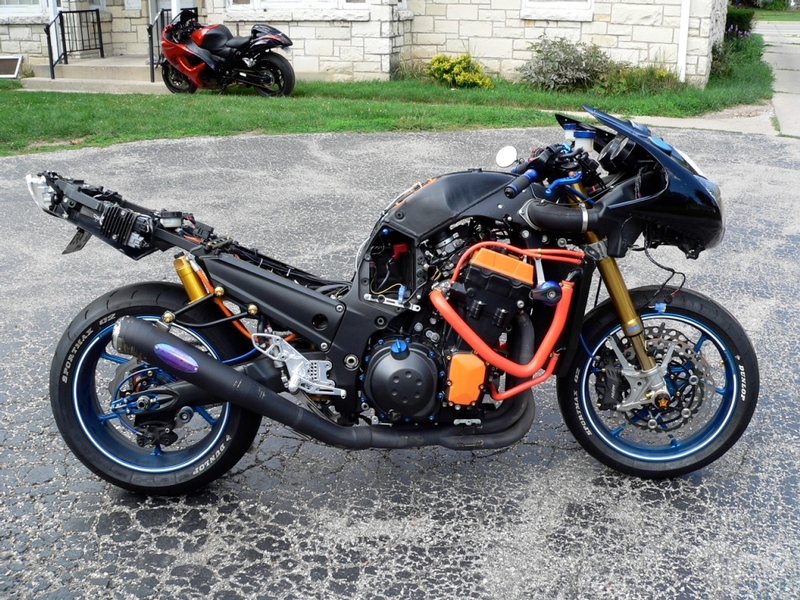
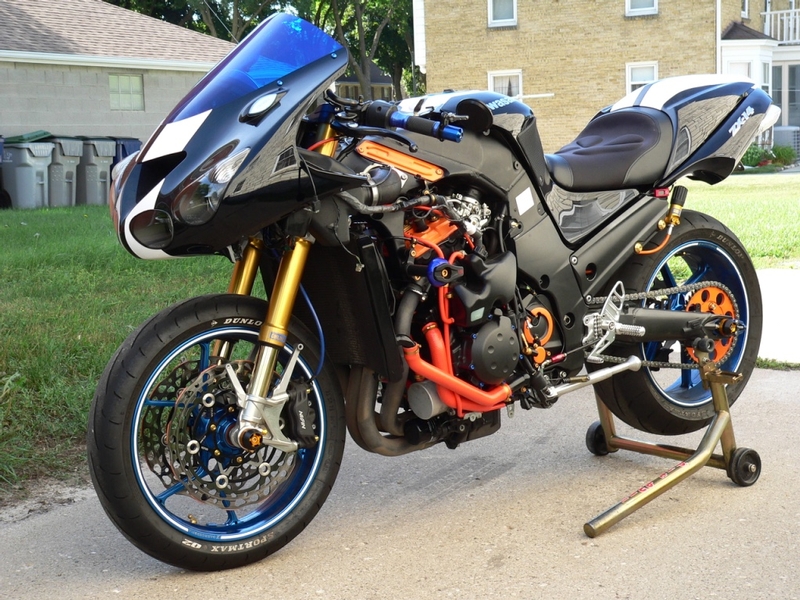

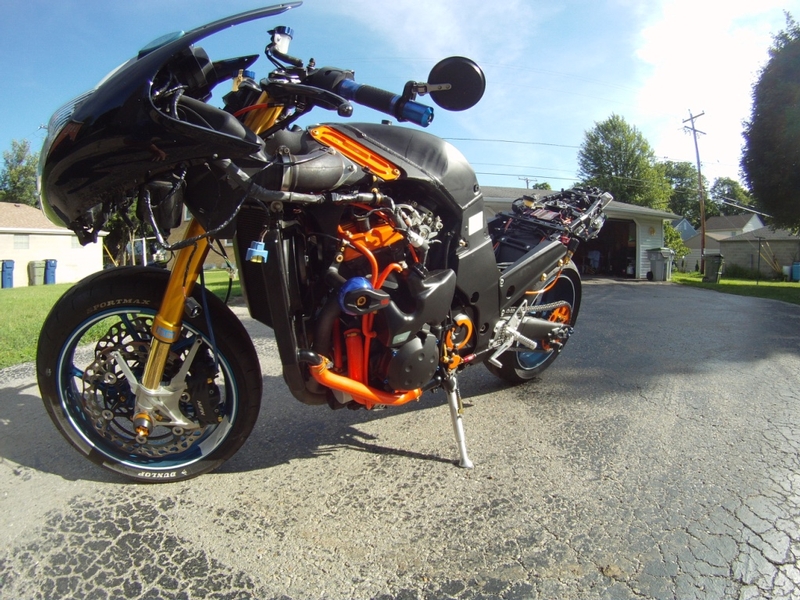
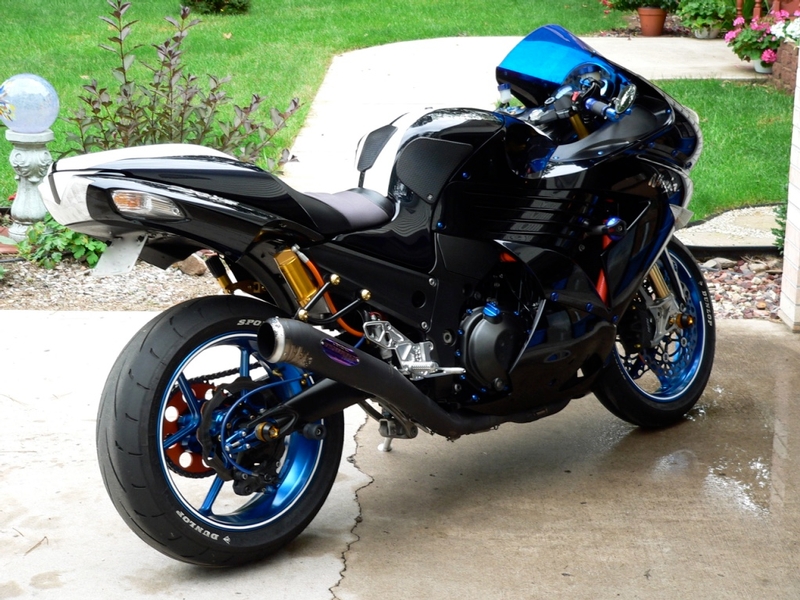
Looks badass with the fairings off but you catch a glimpse of them with the fairings on, too.
400 miles later
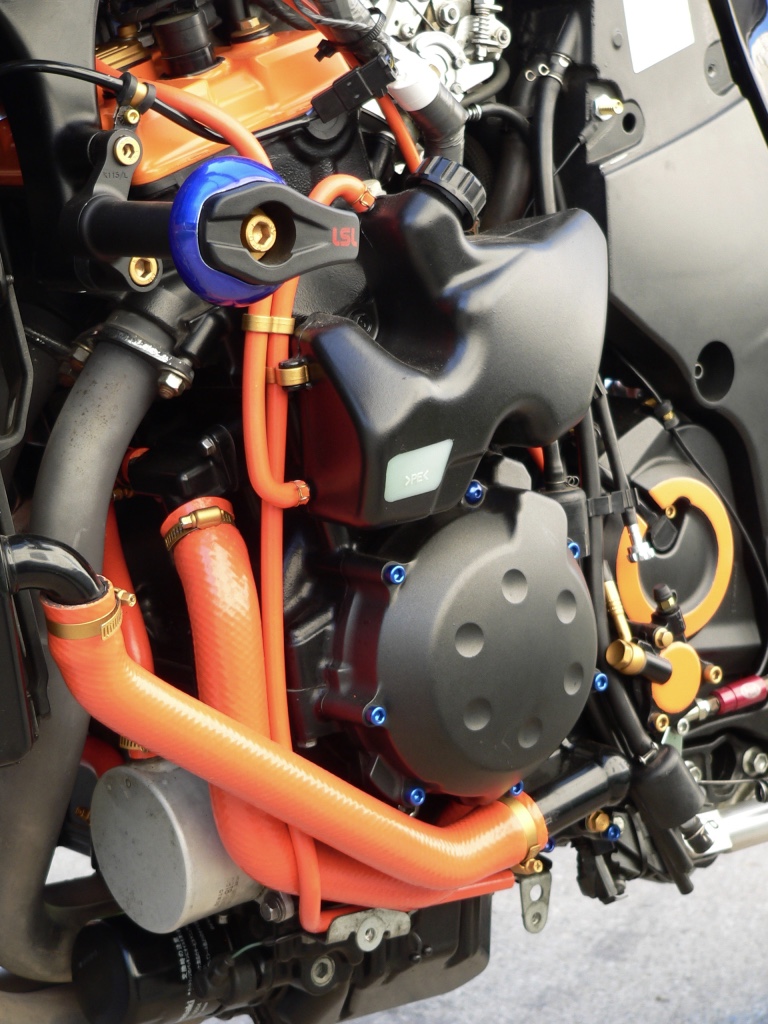
After 400 miles of operation, I removed the fairings and discovered all of the hoses dipped were in great shape except for the large hose from the radiator to the thermostat housing. The RH lower fairing padding contacts this hose causing and the dip stuck to the padding a little. It’s possible this might have been avoided by running the bike without fairings for a week or two until the dip was thoroughly heat cured. I plan to apply a piece of vinyl of the same color over the effected area and if the vinyl withstands the heat, it should prevent any further sticking.
1500 miles later
The engine has gotten hot a couple of times and the dip melted and flowed away from the areas of the hoses that run close to #4 head pipe. The whitish base coat is showing through. It still looks like a nice silicone hose with the fairings on but they look pretty rough with fairings off. It’s still a worthwhile thing to do if you remove the water hoses and want to try a color. I’ll be buying a set of orange Samco hoses next time I flush my cooling system.
* Last updated by: Rook on 4/20/2018 @ 2:57 PM *
 Seriously, that looks sharp!