That plate is uber trick sir. Nice work. Well spent winter this year!
Thank you iron. It's not over yet. I have to at least get my nitrous solenoid bracket done and the progressive controller in. The bottle brackets will probably end up being a summer project.
Sharp design there Daron..Really cool.
Thanks Grn.
What about the switch housings?Aren't they gonna interfere with the center rib of the bracket?
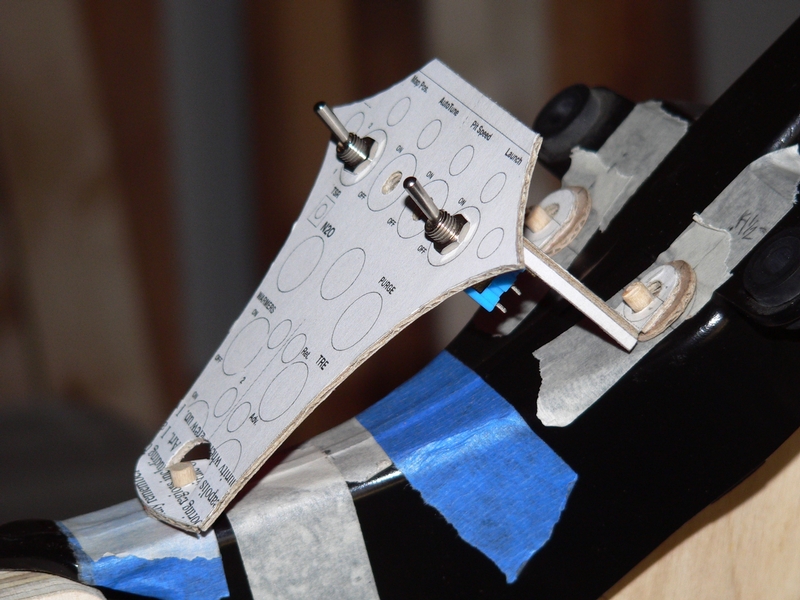
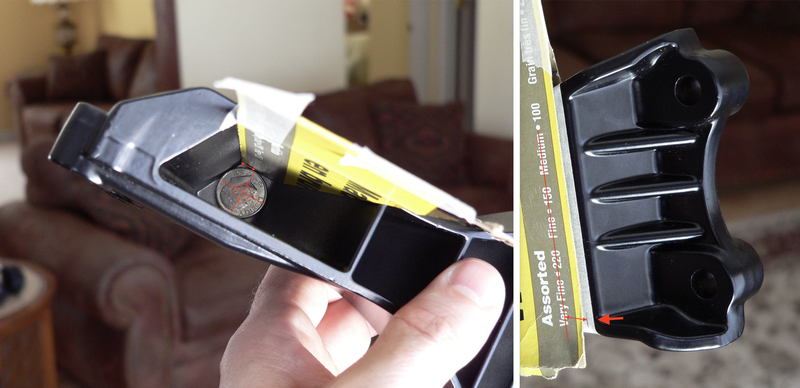
If you mean that 3mm wide raised rib down the middle of the meter bracket, that is less than a mm high. A 1/16" rubber damper would mold to that. I'm using an aftermarket meter bracket and they ground the rib off so I have nice flat areas to mount to.
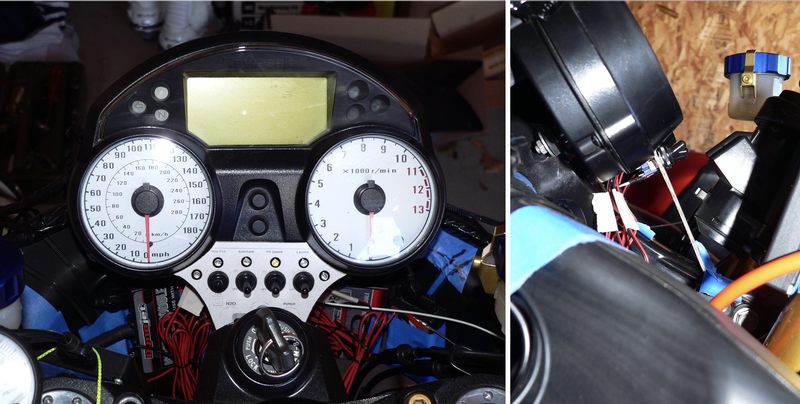
OR if you mean the meter bracket itself interfering with the switches below the panel, NO there is plenty of clearance for all but the bottom row of switches. The top row of LEDs come very close to the meter unit shell but they won't touch. The bottom two switches would hit the meter bracket but I will make the surface of the plate project up about a half inch at the bottom so the lower switch housings will not hit the meter bracket. Right now, the ignition cylinder is right over that area so there is no way I could put the bottom switches in yet anyway. That will be another project--relocating the ignition switch replacing it with a toggle and button.
Perhaps you could cut out their shape from the bracket surface,have em sitting down IN the bracket.Still wouldn't weaken it.But it would be flush.Paint the face of it black like the bracket,it'd look like it's part of it.
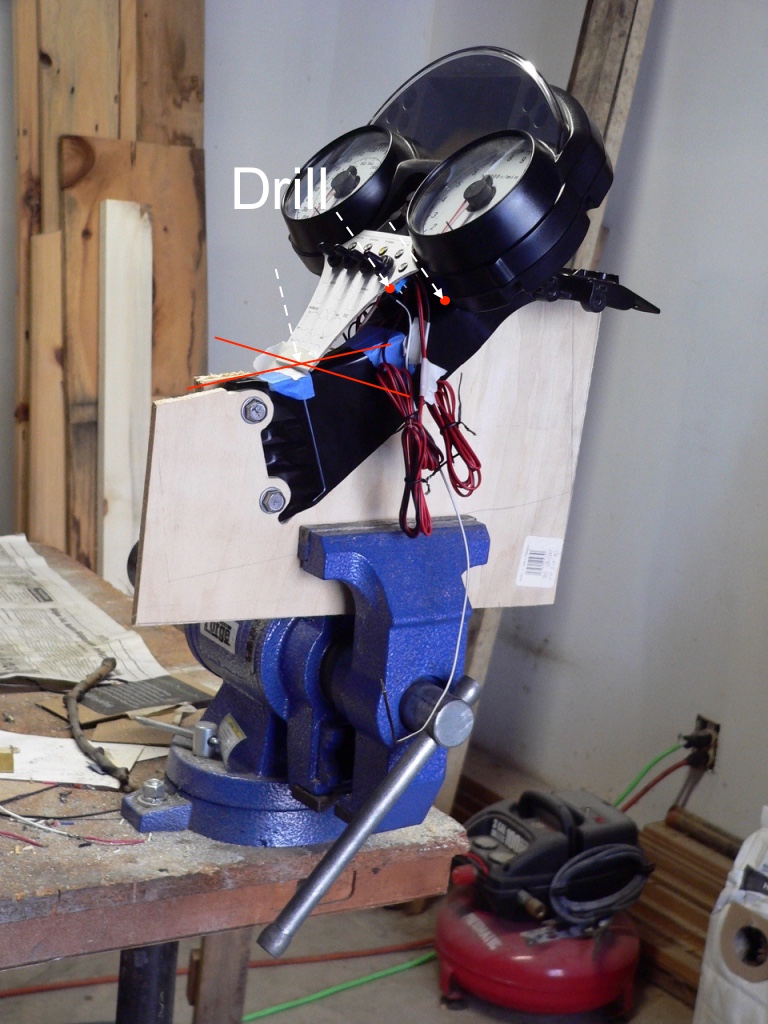
Heck yeah, you could just drill 1/4 holes and mount the switches right in the meter bracket. The meter bracket would become the switch panel. It would work great right at the top directly below the speedo and tach but not much lower, the top face of the meter bracket narrows down a lot and back by the ignition, it is only and inch wide. You would have to mount the switches all in a line front to back. There would be less room. There are the inner reinforcing walls to consider for drilling too but it sure looks like that could work.
I probably should have just done that for the initial install and worked on the plate and box during summer. Aftermarket meter brackets are cheap. You could buy a few and toss them out as your modification needs changed.
Isn't the ignition switch gonna kind of be in the way of toggling those switches?
Yeah the bottom ones for sure but I will be getting rid of the stock ignition ASAP. It's in the way and it's heavy and I'd rather just have a toggle switch.
Right now, all that matters are the top switches for the Dynojet utilities: Map switch and AutoTune, Launch rev limit and pit lane speed limiter. If mini switches are hefty enough to power my nitrous system, there is room for two or three more switches in the second row. Third and bottom row will be obstructed by the ignition cylinder.
How about making the switches vertical,instead of horizontal?Kinda going up between the Tach and Speedo.There's not much room really.Since the LCD is right there.
I did initaily want to put at least a couple switches on the surface of the meter unit to the sides of the rubber buttons you use for setting the meter. It looks like there is space to do that on the surface but I do not know if there is enough open space inside the meter unit for the switch housings. I will be taking that apart in a week or two so we will see. Maybe there will more switches there in the future. Meter units are expensiO. I'd hate to cut holes in one until I know what the heck I'm definitely doing.
OR...fixing em into the dash plastics to the sides of the Meter.Two per side.Just a thought.Plenty of room right there.Easy to reach.
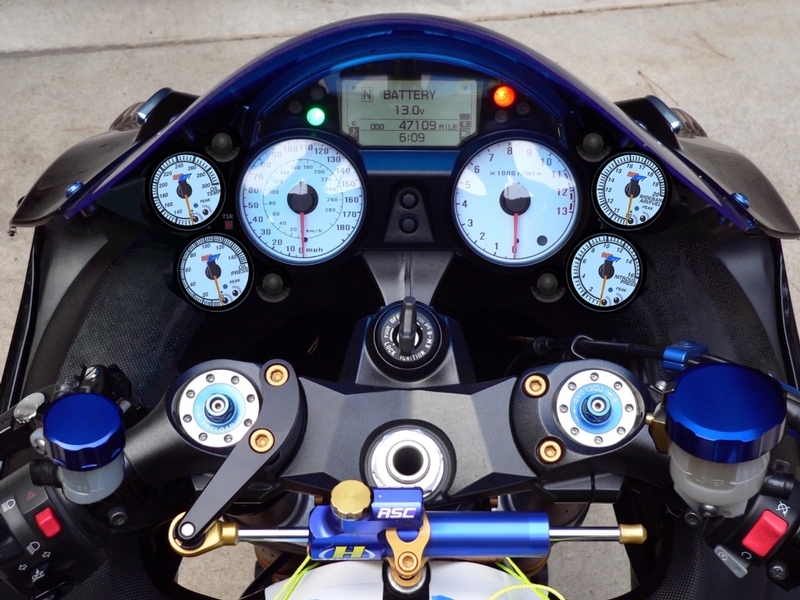
Yep but I will have gauges there. Three on each side. That'd have been the first place Ida put switches if not for those gauges. I may put a couple way up in front on the ram air covers someday..if necessary.
* Last updated by: Rook on 5/20/2018 @ 2:43 PM *
'08 MIDNIGHT SAPPHIRE BLUE Now Deceased


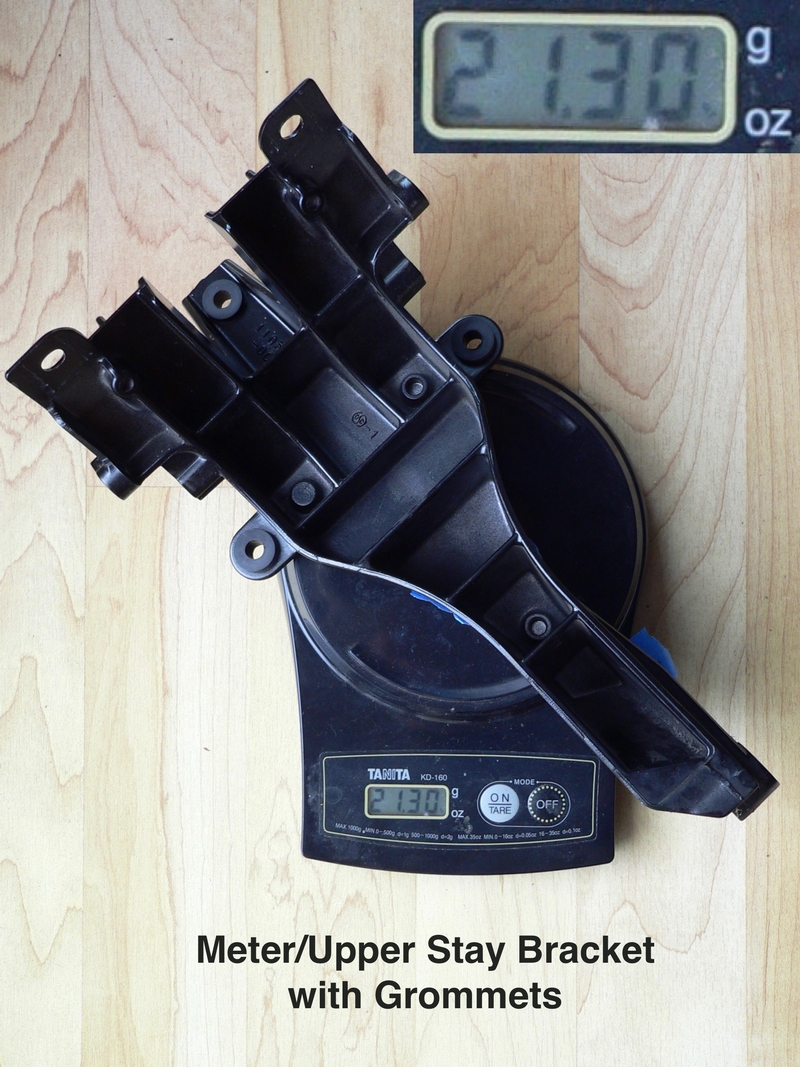
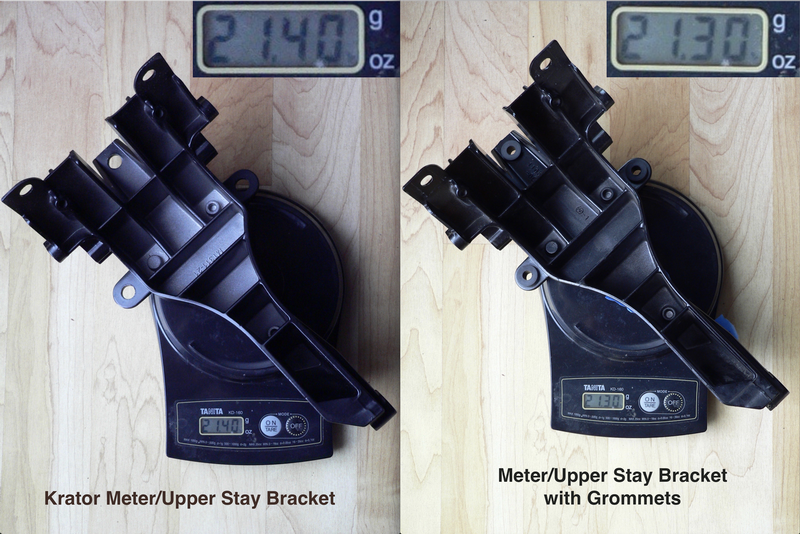


 The meter/upper fairing stay bracket. There's several pics throughout this thread. Both gens have it. Bolts to front of steering neck of frame and supports the ram air tubes and top fairing. It's this part.

 You da man!