


These are fairly easy to install, but I figured I'd complete a "How-To" to give anyone looking at these racks an idea of what's involved.
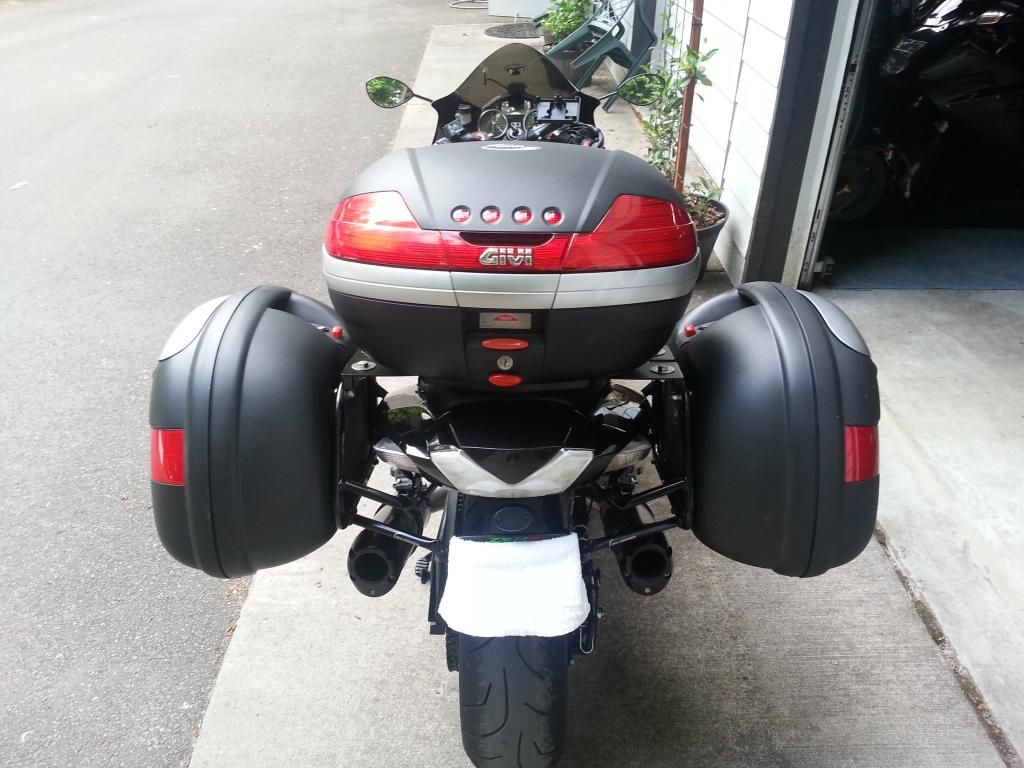
I recently scored a set of used Givi V35 bags off eBay. They already had the Street Magic Genesis LED light kit installed, and I added some black 3M reflective tape to the rear and sides, and some red 3M reflective tape behind the lenses to give 'em a little more visibilty (the black 3M tape is virtually invisible until you shine a light source on it)...


The racks were ordered from Twisted Throttle, and they arrived 3 days later. On a scale of 1 - 10 for packing, I'll give TT a 15...these things were packed in enough bubble wrap that I could probably use it to completely swathe the bike and run it off a cliff without damage. It literally took me 20 minutes to unwrap all the pieces/hardware.
Racks, brackets, and hardware...
Before starting, you have to "pre-assemble" the racks...attaching the latch, plastic sleeves, and rubber bumpers on each one...
First step, remove seat to gain access to fasteners holding tail halves on...
Then remove screws holding the small, rear center section and pull it to the rear, disengaging the post from the rubber grommet in the taillight housing...

Now remove the three 4mm hex bolts and one plastic retaining clip from each tailpiece half...

And remove each half, disconnecting the turn signal...
The instruction sheet includes a couple of templates for the required trimming of the undertray in order to install some of the bracketry...
And I thought I'd never put my Kindergarten cutting skills to use! (Notice the Band-Aid...this was a result of using a flat blade screwdriver to push the small rubber bumpers into their holes in the racks as mentioned above...Doh!)
Next, break out the trusty Dremel and trim away according to the template...I found out that although the racks are designed/made in Germany, the templates apparently don't have the usual Teutonic precision. After test fitting the brackets, I had to trim a good bit more...I also found out on the other side that a utility knife works better than a Dremel for cutting the plastic.
Remove four 4mm hex bolts securing the toolbox, remove, and pull the ECU of it's mouning tabs and set aside...
This is in order to access this bolt on the rear subframe that will be replaced...
Replace with the bolt, bracket, and spacer supplied in the kit, and secure using the OEM nut from the removed bolt...
I used the opportunity while I was in the area to re-route the wiring for my Hyper-Lites and tidy it up abit.
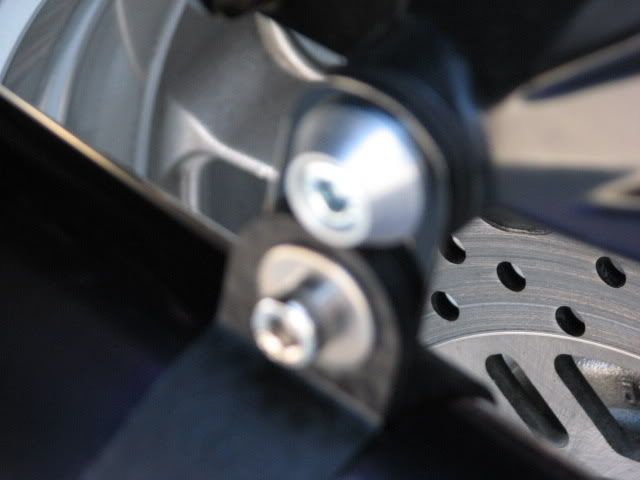
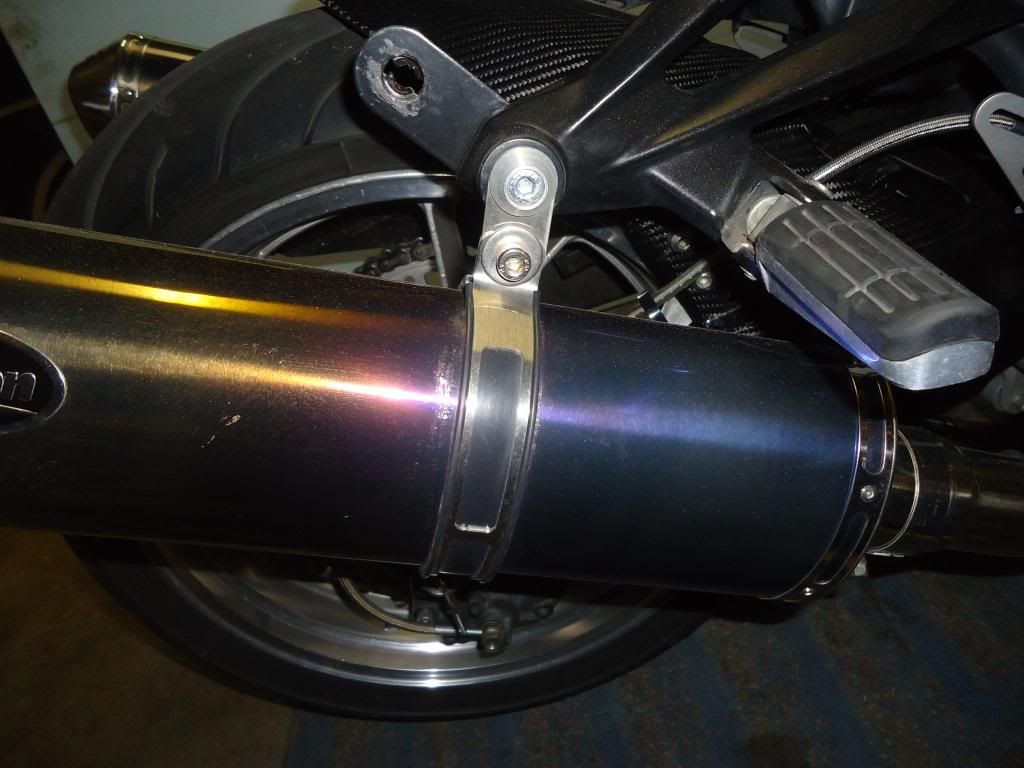
Next, we remove the passenger peg hanger bolts in order to install the upper bracket and spacer supplied...


And remove exhaust hanger bolt to install lower bracket...

Use medium-strength thread lock on all bolts, and leave them loose to facilitate lining the racks up.
Test fit rack and tighten bolts...
Test run to ensure electrics work before buttoning up the plastics...
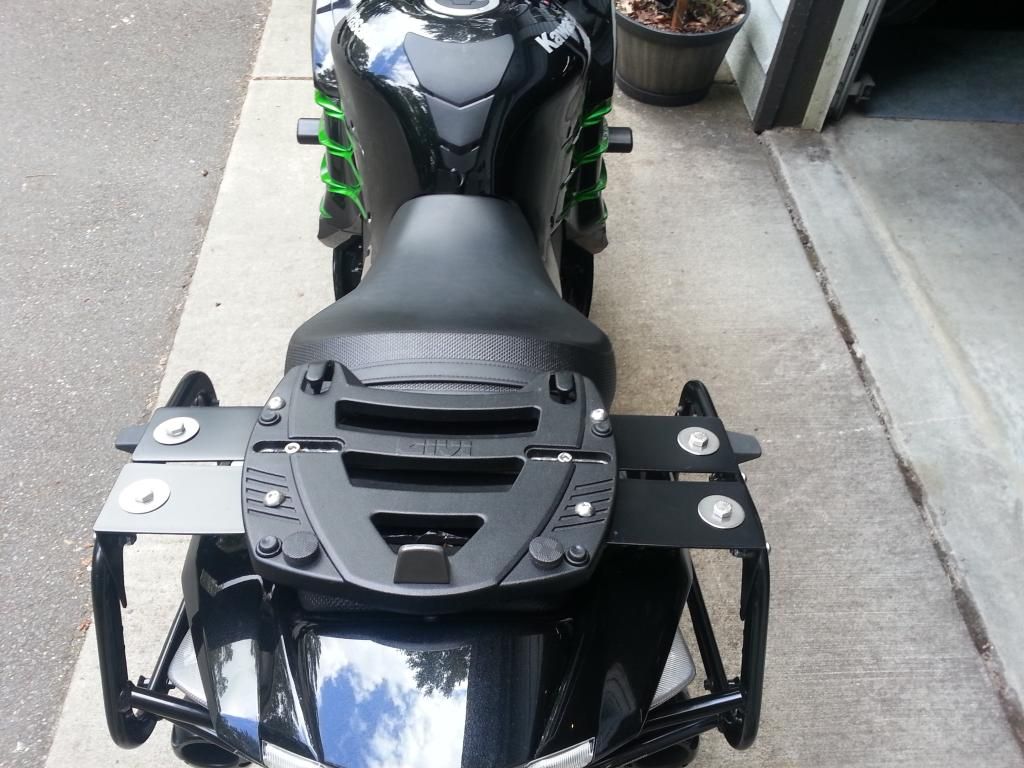
Reinstall plastics, and this is what the finished brackets will look like...
* Last updated by: kb377 on 7/21/2012 @ 1:08 PM *