


Wheel Balance
According to many motorcycle riders, proper wheel balance makes no noticeable difference in performance. Some riders don’t even bother with balancing their motorcycle wheels. Wheel balance is critical on a car but not a bike. You probably won’t notice any difference in a balanced motorcycle wheel compared to an unbalanced motorcycle wheel. The main advantage to wheel balancing on a bike is that the tire will wear a little better than it would if it were out of balance. The suspension and steering should perform more stably when the wheels are balanced but you probably won’t be able to notice the improvement. I like to be thorough so I bought a balance stand. For the reasons just stated, I would not spend over a hundred dollars on a balance stand, however.
Dynamic v Static Balancing
The typical balance stand you will find online is a traditional static balancing stand. Many shops do something called dynamic balancing which requires sophisticated electronic equipment. Dynamic balancing takes into consideration not only the weight difference around the circumference of the wheel (radial) but also the weight difference from side to side (axial). You DO NOT need to have a motorcycle wheel balanced dynamically. In fact, unless you have one of those super wide rear wheels, I doubt you will benefit from dynamic balancing any more than good old fashioned static balancing. Here is a post I made based on an online search for an explanation of dynamic vs static balancing (see my post, #20, bottom of page 2).
Static balance takes into consideration what point on the wheel's diameter is heaviest. Dynamic balance goes on step farther, pinpointing the heaviest spot of the tire radius and the tire width. This illustration shows how dynamic balancing is important for wide tires.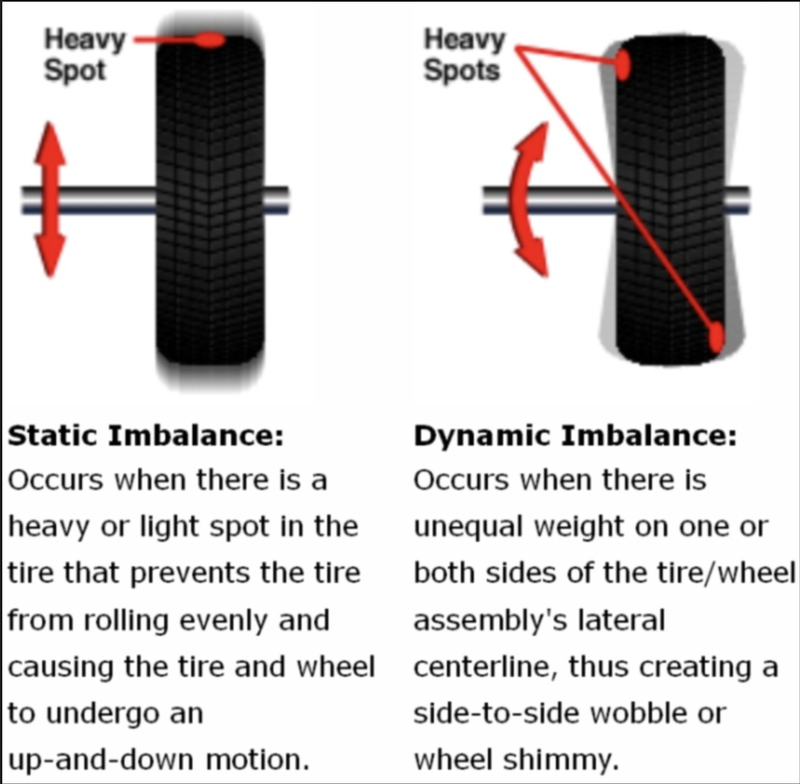
Tire Balancing Stand. You can make one of these or you can spend about $100 and buy one online. Like the other special tools made for tire changing, this balance stand has several identical twin brothers sold by other companies. I went with one of the cheaper ones but I avoided the absolute cheapest since this is supposed to be a precision instrument. Mine seems to work great.
The way that static balancers work is that they allow the wheel to rotate very smoothly around its axis on bearings. The friction involved in the rotation is greatly reduced. If there is a heavy spot on the wheel, it will come to rest at the bottom under the force of gravity. A heavy spot on the wheel is counterbalanced by the addition of small weights that are fastened or adhered to the rim. The wheel is in balance when gravity does not cause any particular spot to stop at the bottom in repeated tests. Thus, when turning at speed, centrifugal force in the wheel is equal around the entire diameter of a balanced wheel.
Static balancers are available for under $100. If desired, a cone rod and bearings may be purchased and the stand made out of wood as shown in Step 5, Balancing, Part 1. in this pdf online tutorial by Adam Glass.
I felt it was worth the cost and time saved to purchase the entire stand. Look for a stand that includes both the cone rod and the second set of points that screw through the uprights of the stand and are used to check wheel, rotor and sprocket runout.
When balancing the wheels, it is important to include all of the parts of the wheel that contribute to the weight distribution that rotates around the axle. Brake rotors and sprockets certainly have weight and should be on the wheel for balancing purposes.
The static wheel balancing stand and wheel weights I own were purchased online from Competition Accessories.
Tools:
piece of plastic cut from a milk jug
straight slot screwdriver
heat gun
balancing stand
Sharpie or piece of tape
tape
balancing weights
When new tires are installed, the rim balance is first checked without the tire to determine if there is a heavy spot on the rim. Remove the old tire from the wheel (see Tire Removal and Mount, steps 1-14).
1. Remove the wheel weights from the rim. For clip-on wheel weights, place a piece of plastic cut from a milk jug between the rim and the wheel weight to protect the wheel surface from scratches,. Use a straight slot screwdriver inserted over the plastic to twist the screwdriver and pry the weight off. Self adhesive weights probably are best removed by heating them up a bit with a heat gun and simply pulling them free with the fingers.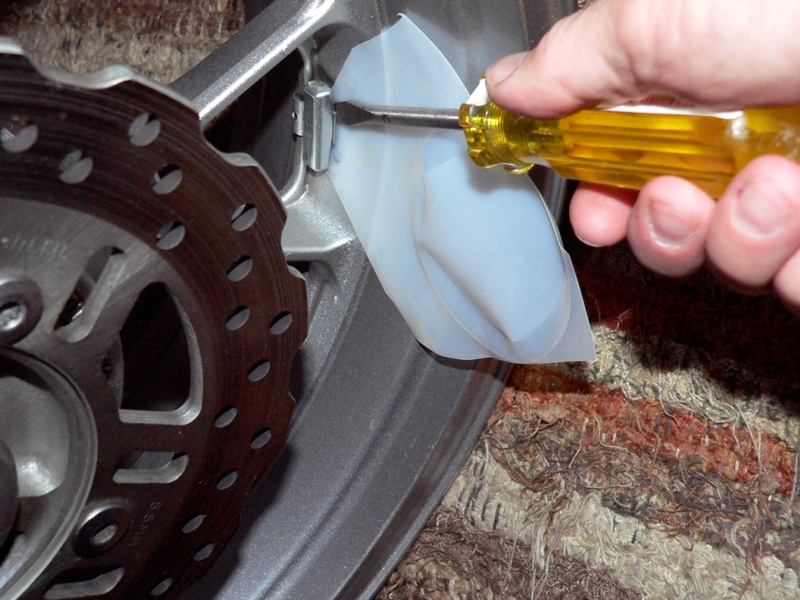
If there is a standard rubber valve stem it should be replaced at each tire change. (see Tire Air Valve Replacement, Introduction and steps 3). Metal valve stems may have the gaskets and o-ring seals replaced. Replace the tire valve parts before balancing the rim. Also, be sure all rotors or sprocket are installed to the rim with their fasteners exactly as they will be positioned when the wheel is reinstalled for use.
2. Place the cone rod from the balancing stand through the axle hole of the rim and fasten the cones in place with an allen wrench. Position the cone rod with the rim, sprocket and rotor(s) on the bearings atop the balancing stand. 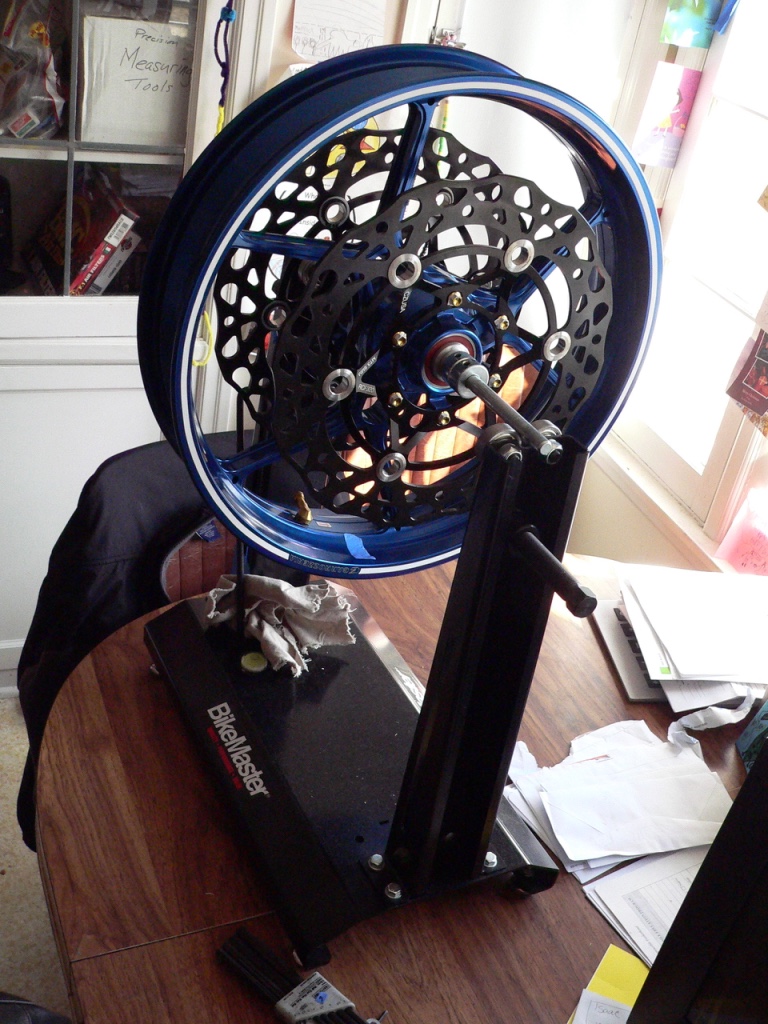
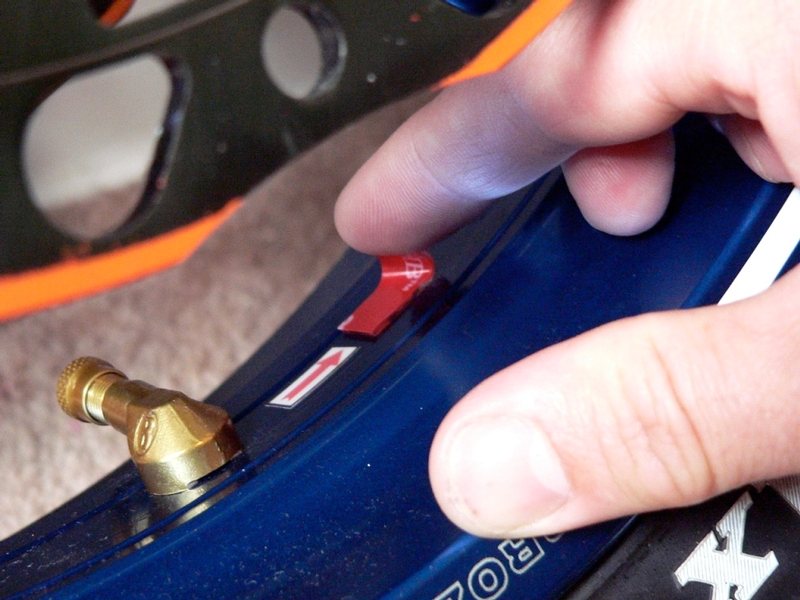
3. Gently rotate the rim and and allow it to stop on its own. The heavy spot will be at the bottom when the wheel stops turning. The heaviest spot is usually where the valve stem is located. Mark the heavy spot on the rim with a Sharpie or piece of tape. Repeat the process several times to confirm the heavy spot. If the rim comes to a stop at different points repeatedly, the rim is balanced. There is no heavy spot.
4. Remove the rim from the balancing stand and remove the cone rod from the axle hole. Mount the tire to the rim and seat the beads (see Tire Removal and Mount, steps 15 through 40).
5. Find the heavy spot on the wheel with the tire mounted. Follow the same procedure as described in steps 2 through 4 of this tutorial. If there is no consistent heavy spot, the wheel is balanced, you are done. Reinstall the wheel to the motorcycle (see Wheel Removal and Installation, steps 13-25 or 40-53 ).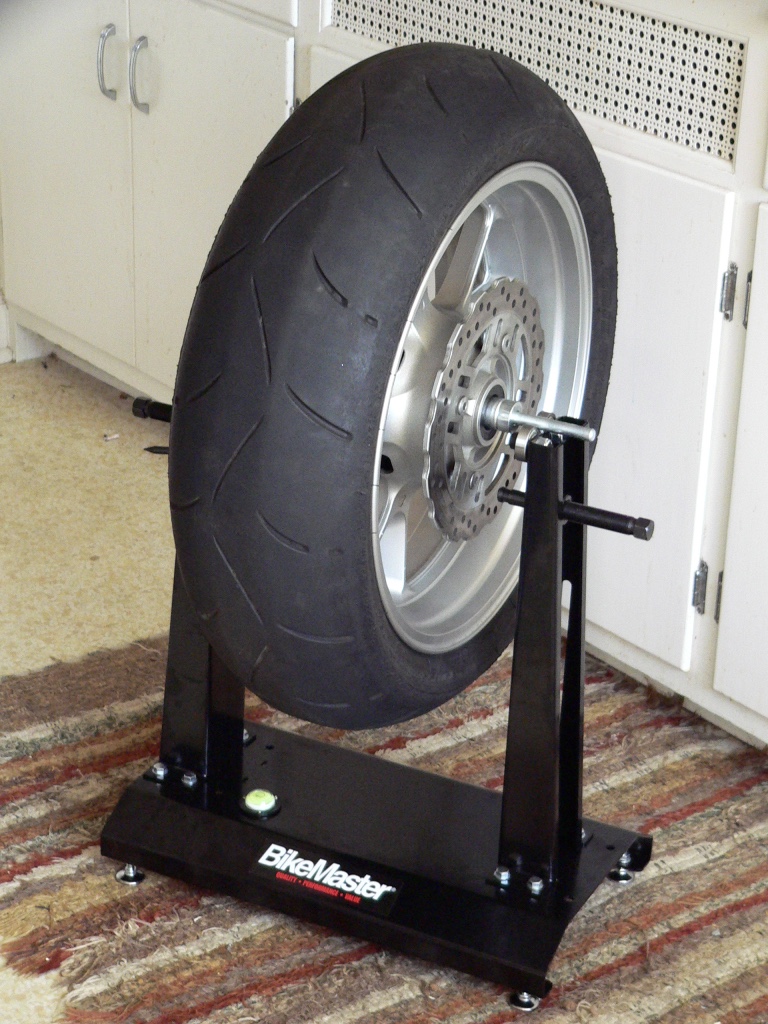
6. If there is a heavy spot identified, use tape to temporarily hold a balancing weight opposite of (180 degrees to) the heavy spot. Test the balance of the wheel with the weight in place on the rim. Add or subtract weight as needed until the wheel has no consistent heavy spot. The wheel is now balanced and ready to install. Remove the tape from the balancing weights and and affix the balancing weights to the rim. 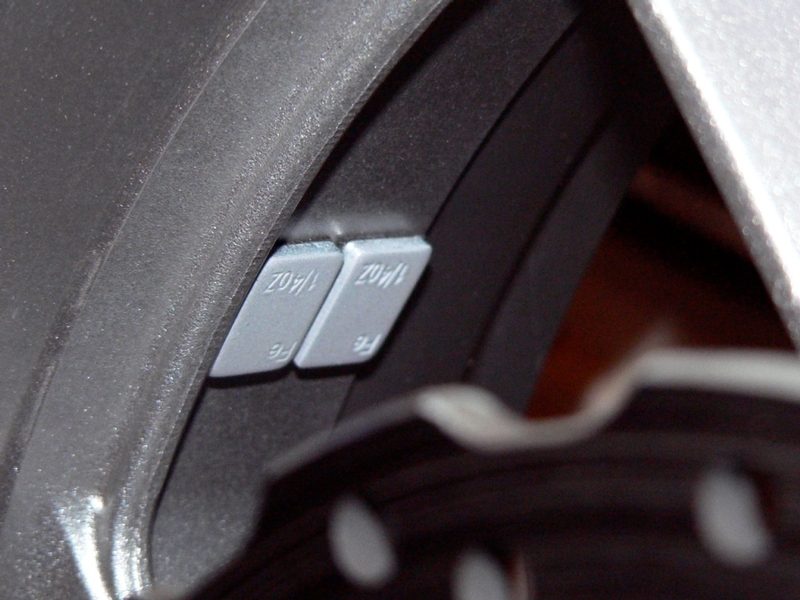
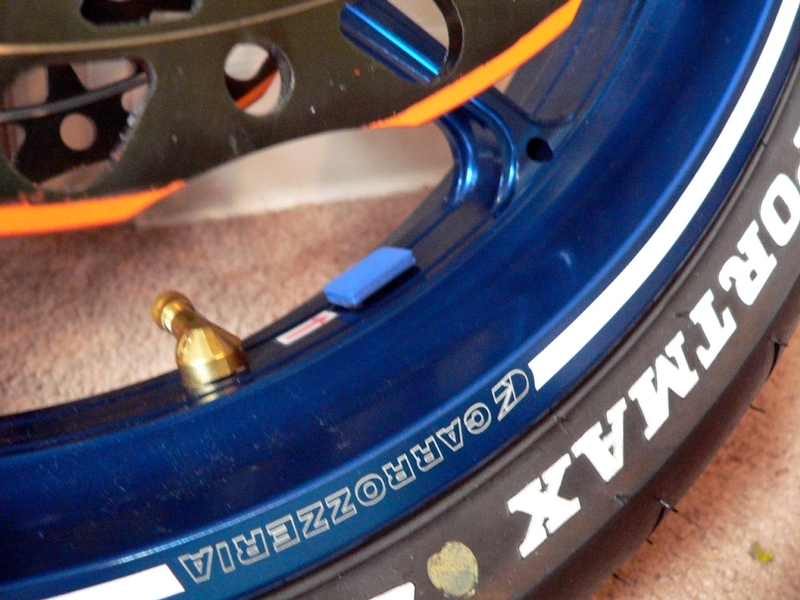
Most balancing weights used by DIYers are the self adhesive kind. They can be cut if necessary with a hack saw to make lighter weights for precise balance.
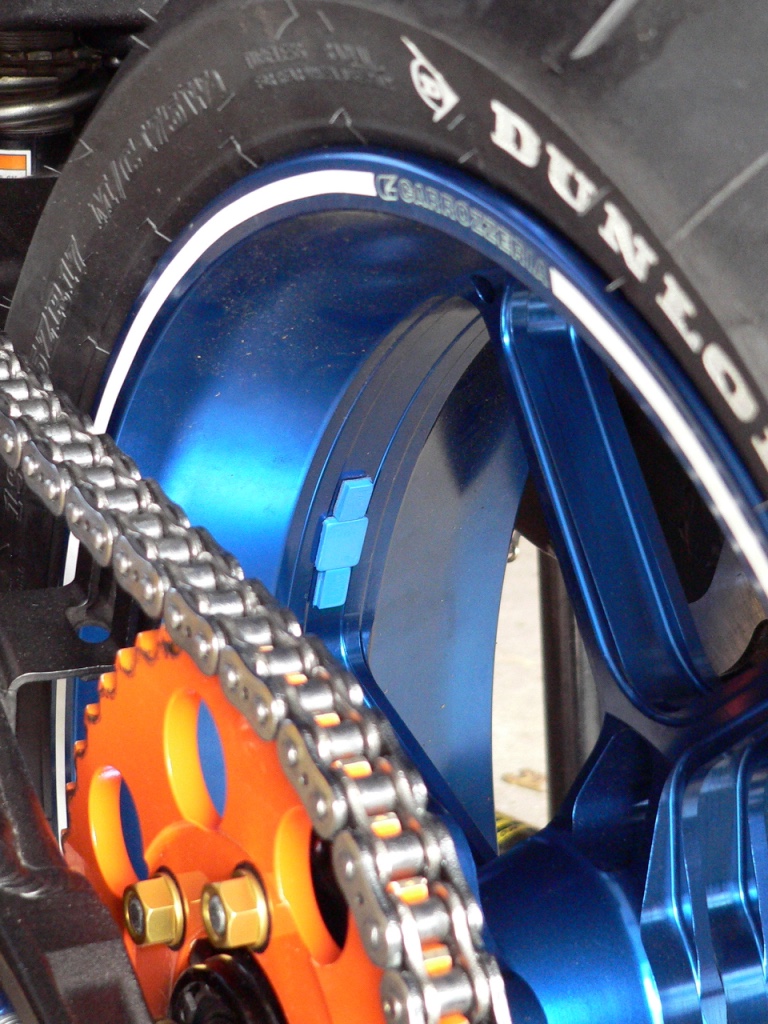
You also may wish to use a piece of double sided tape instead of relying on the adhesive backing of the weights. I did this with the weights that I cut to a smaller size. The weights will stick to the wheels just fine but if you want, you can cover the weights with a color matching piece of duct tape for extra security.
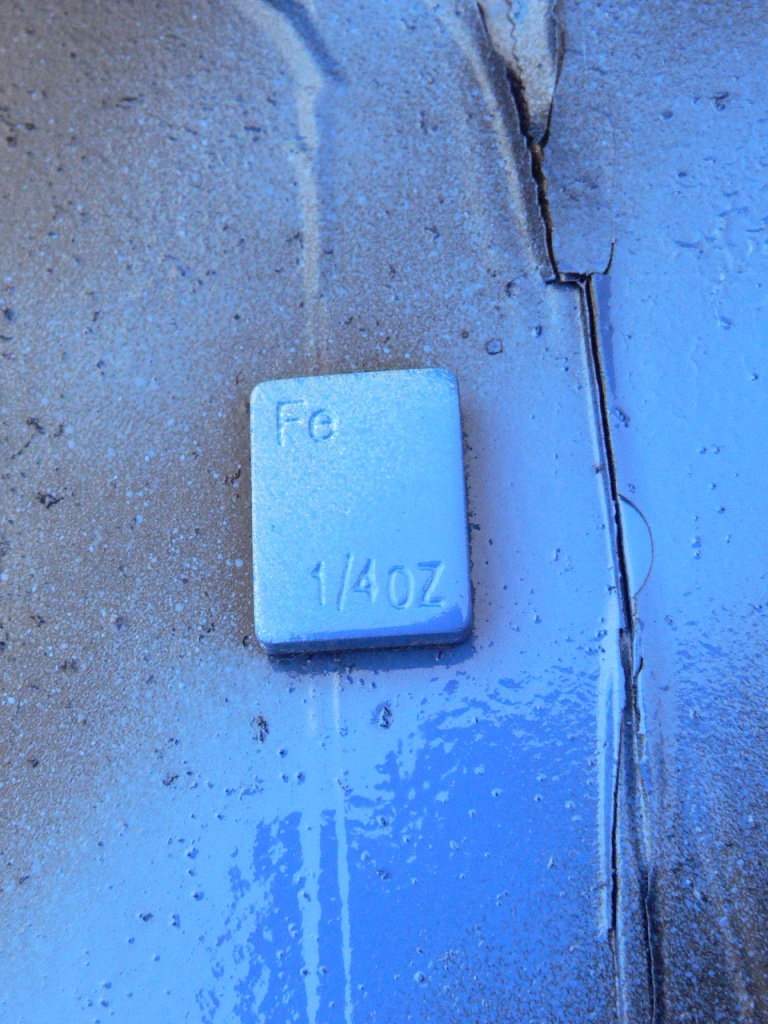
You might wish to spray paint the weights a color that matches the rims before affixing them.
* Last updated by: Rook on 4/10/2018 @ 12:43 PM *